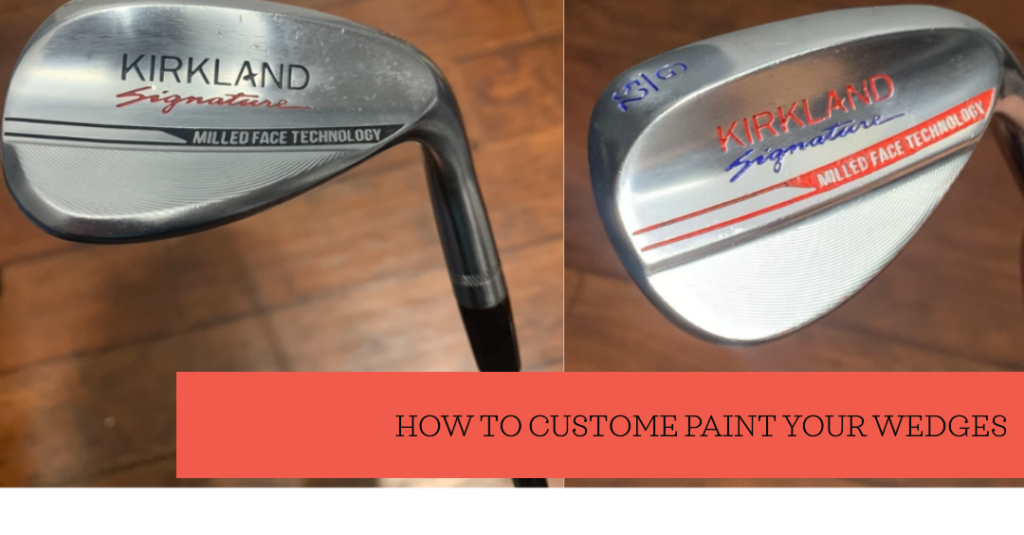
Golf lacks customization. In other sports, you can customize your equipment and add a little personality. Unless you are custom-ordering, adding a little flair to your bag is hard. Painting your golf clubs is one way to customize your clubs without breaking the bank. In this blog post, I will be explaining how to give your golf clubs a custom paint job.
Table of Content
Before starting
Before you start, make sure you have everything you need in a convenient place; you don’t want to be scrambling around while painting your golf club. Here is what you will need. Paint, I use GPAINT custom paint fill and I got it on Amazon. A cup of water and soft tissue, you will need to dip the tissue in the water to wipe off the paint. Rubbing alcohol and Q-tips, after you whip off the paint with the wet tissue, there will be some paint left over, and you need to use the -tip and rubbing alcohol to get the paint off. Here is a list of the things you need.
If you don’t have an item or two on this list, Click on the item you need to find the product on Amazon.
How To Paint Your Golf Clubs
Step 1: Clean your clubs
Before you start painting, you need to clean your golf clubs. You need to make sure that there is no dirt in the spots you are painting. I recommend using hot water and an old toothbrush to clean your clubs.
Step 2: Painting
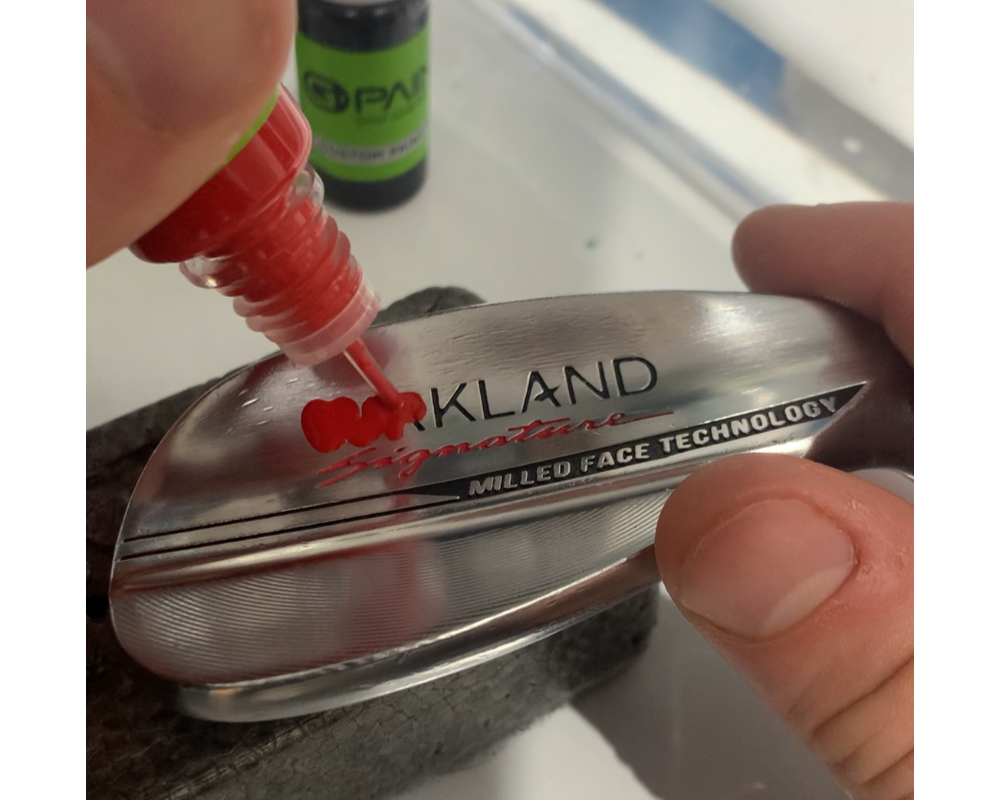
Before you start painting, make sure you have an evenly folded-up tissue and water poured into a container. First, pick the colour you want to use, lightly squeeze the bottle, and fill in the area you want to paint on your golf club.
Step 3: Wiping the paint
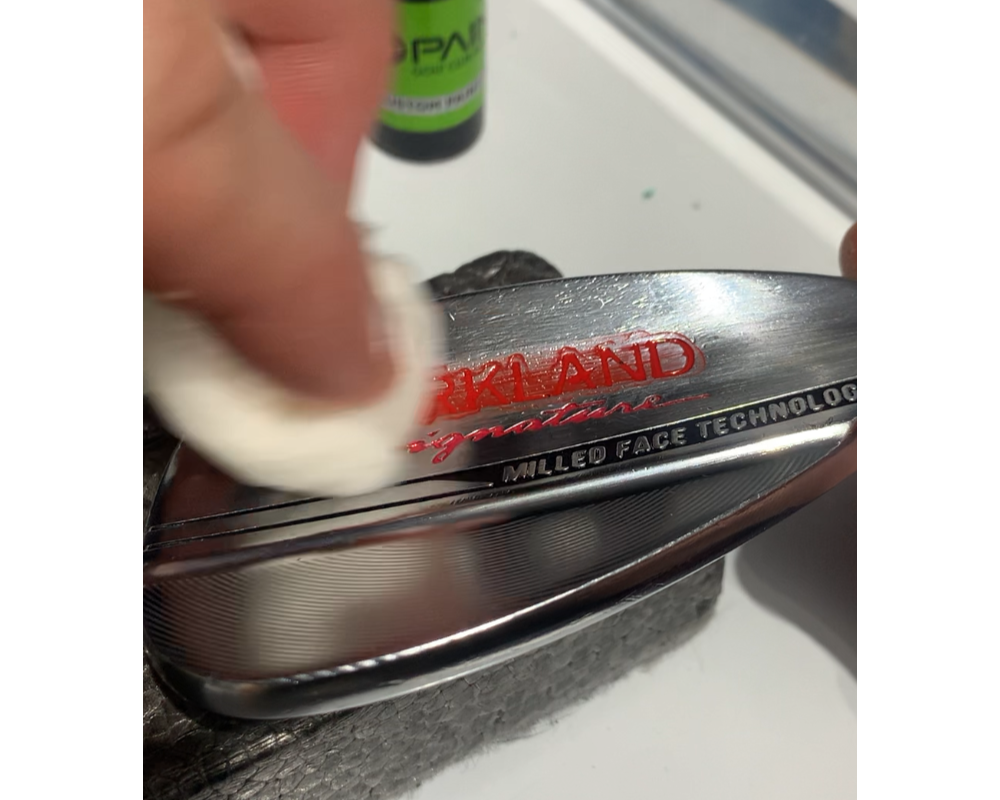
Once you fill in the golf club, grab your evenly folded tissue and dip it in the water, making it damp. You do not want the tissue to be soaking wet, just damp. Then give the painted area one whip across.
Step 4: Let it dry, and don’t worry
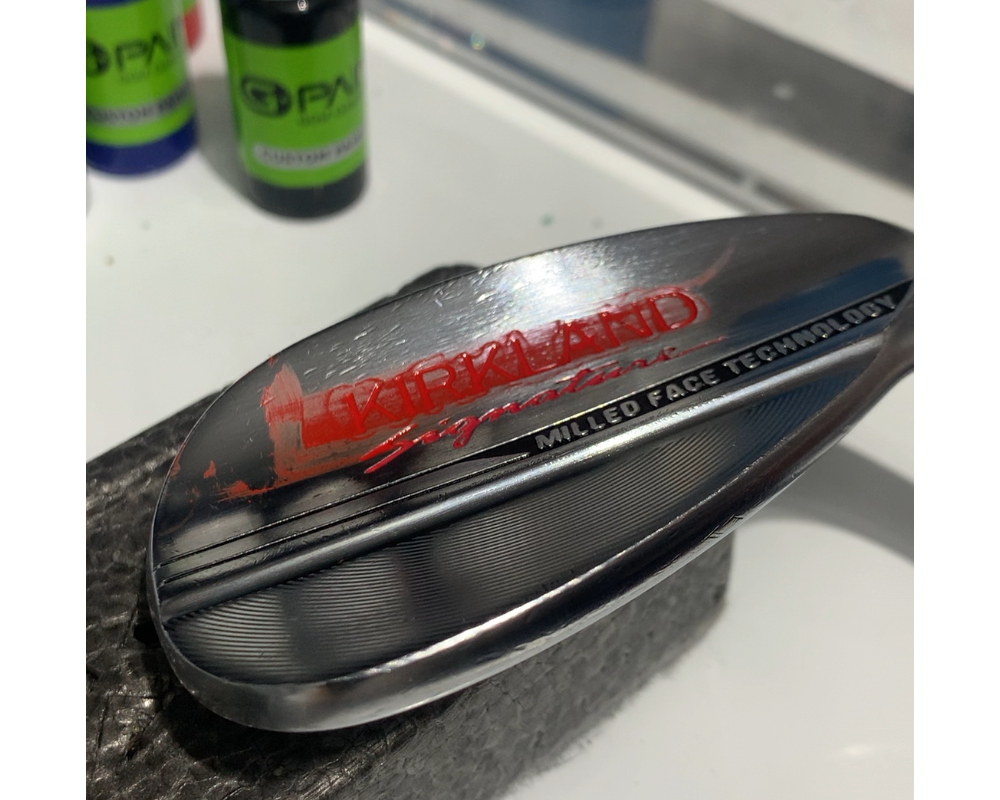
Even though there is still paint all over the club, and it probably doesn’t look great right now, don’t panic. This is normal, and you want to let the paint dry for 4 to 7 minutes so that you can scrap/peel off the extra paint with the rubbing alcohol and Q-tip. Allowing it to dry makes it easier to clean off the unwanted paint and keep the wanted paint.
Step 5: Cleaning off the extra paint
After 4 to 7 minutes, grab your Q-tip and dip it in the rubbing alcohol. Start scrubbing off the extra paint with the Q-tip. When touching up fine details, try to be careful not to scrub the paint out of the intended area. Some tough-to-paint areas might need an extra coat or two.
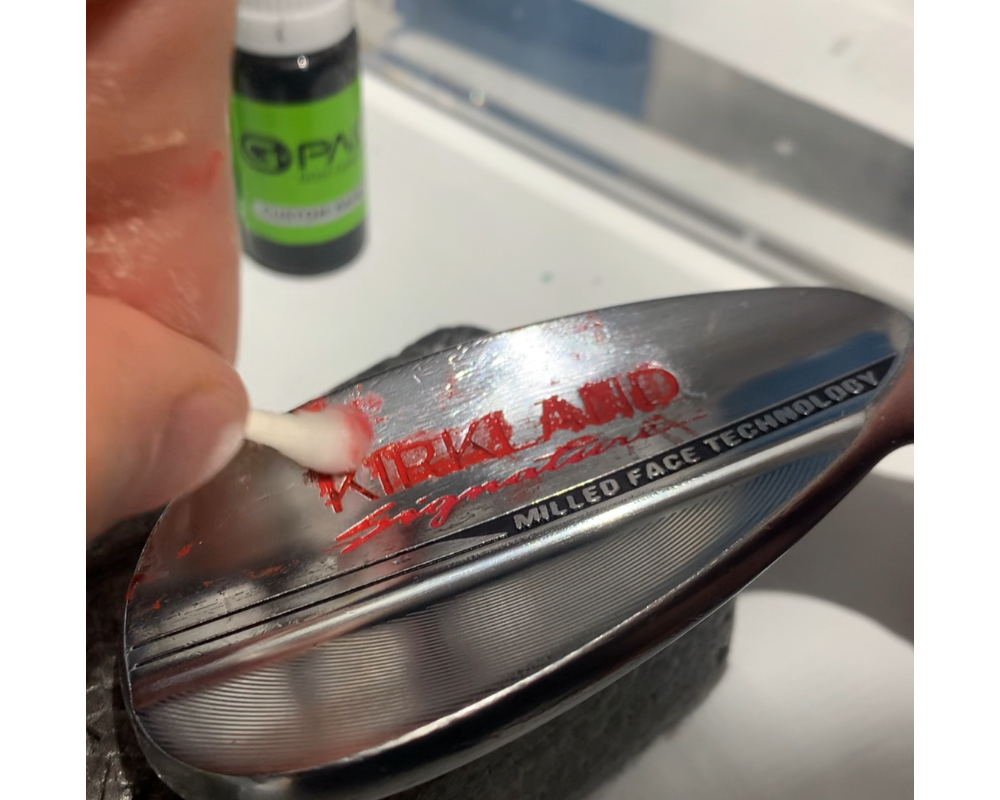
Step 6: Touch-ups
Once you clean off the extra paint on the club, let it dry for at least six hours before you use it. If you need to paint another coat, I recommend waiting 4 hours, but if you need to paint it sooner, I suggest waiting at least 30 minutes. After finishing the touch-ups, you should wait 24 hours before using the club.
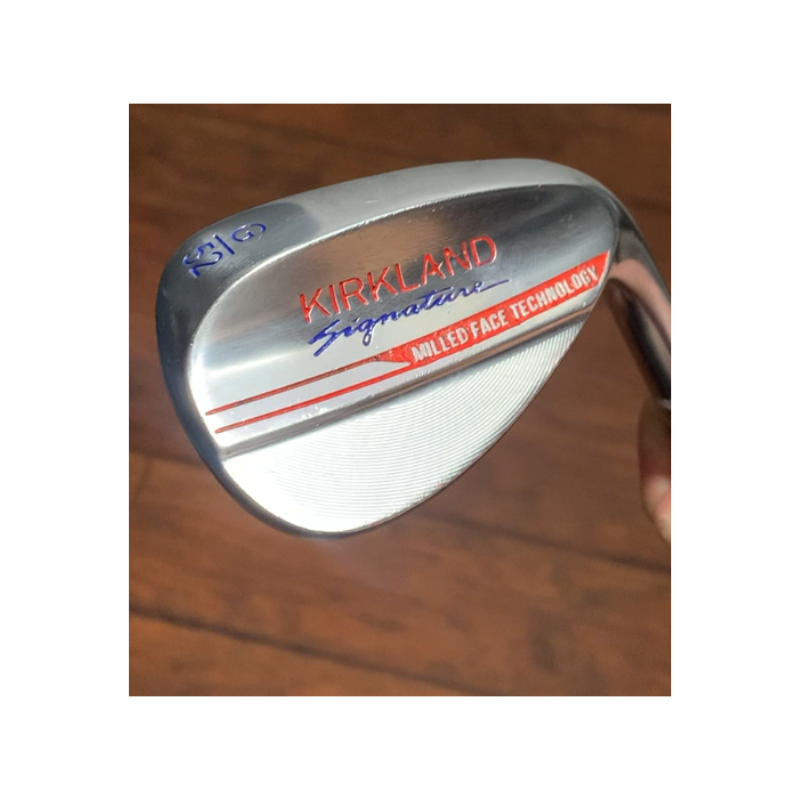
Conclusion
Golf clubs are a blank canvas waiting for a little bit of personalization. With a little creativity, you can transform your clubs into a work of art that reflects your unique style. Check out Gpaint to customize your clubs and see how easy it is to add a touch of personality to your game.

